Runbook Ease of Use Customizations
Make the finished Runbook more human-readable
-
Left-click on the desired node on the canvas to reveal the node controls (Edit, Copy, and Delete).
-
Click the Edit control to open the node's editor panel on the right.
-
In the editor panel, update the Label field with a more descriptive name.
-
(Optional) If the node supports additional configuration such as a Title (e.g., for visualizations), update it accordingly to reflect the content being rendered in the Runbook Output.
-
Click “Save & Close” to apply the changes.
Once saved, the node’s name on the canvas will update from its default to the new, human-readable label you specified.
The Miscellaneous: Comments Runbook node can be employed to provide additional information
-
In the Runbook Editor palette, expand: Miscellaneous menu, and drag/position Comments node onto the canvas.
-
Left-click on the Comments node on the canvas to expose the node controls (Edit, Copy, and Delete).
-
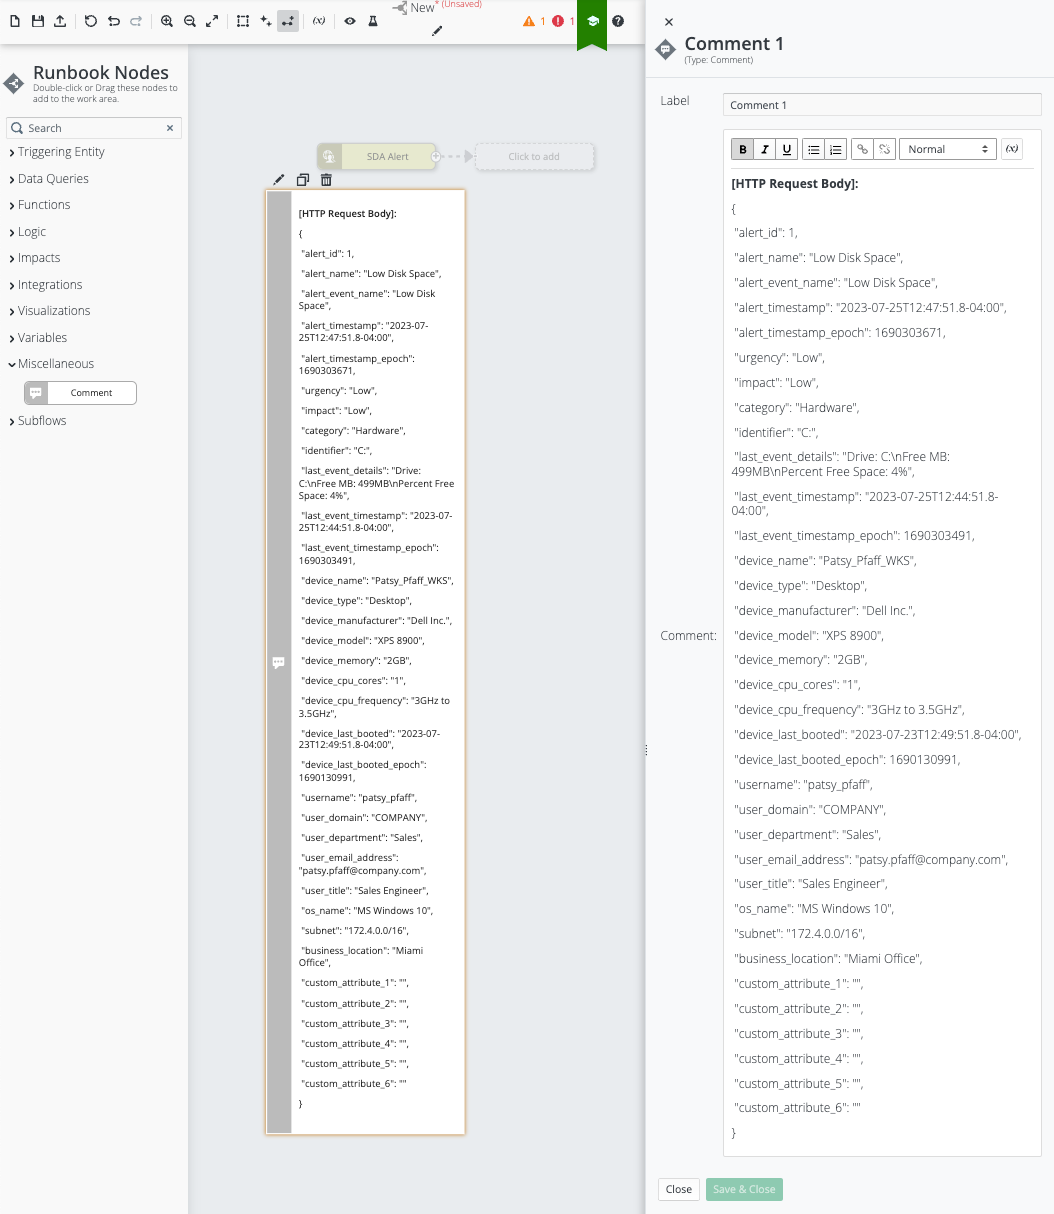
Click the Edit node control to open the Comments editor card on the right.
-
In the Comments editor card:
-
Make the following change <add some value-add annotation to help Users better understand, e.g. paste an example HTTP Request Body>.
-
Click “Save & Close".
-
-
The Comments node on the canvas will update with the new annotation.
This Runbook![]() An automated workflow that executes a series of steps or tasks in response to a triggered event, such as the detection of anomalous behavior generating an incident, a lifecycle event, or a manually executed runbook. now has an entry-point that an authorized external/Third-party entity
An automated workflow that executes a series of steps or tasks in response to a triggered event, such as the detection of anomalous behavior generating an incident, a lifecycle event, or a manually executed runbook. now has an entry-point that an authorized external/Third-party entity![]() Things deployed in the customer environment that are needed to run the business, such as applications, devices, interfaces, and locations. can use to access (i.e. external/third-party entity can call the Webhook to execute this specific Runbook and to pass information into it via Triggering Entity: Webhook), but additional Runbook nodes
Things deployed in the customer environment that are needed to run the business, such as applications, devices, interfaces, and locations. can use to access (i.e. external/third-party entity can call the Webhook to execute this specific Runbook and to pass information into it via Triggering Entity: Webhook), but additional Runbook nodes![]() Individual components that make up a runbook automation, each performing a specific function such as data queries, transformations, logic, integrations, or visualizations. are needed to perform meaningful automation
Individual components that make up a runbook automation, each performing a specific function such as data queries, transformations, logic, integrations, or visualizations. are needed to perform meaningful automation![]() Automated procedures that are executed as the result of a trigger. Automations consist of a single entry point and a sequence of connected nodes that define the processing logic..
Automated procedures that are executed as the result of a trigger. Automations consist of a single entry point and a sequence of connected nodes that define the processing logic..