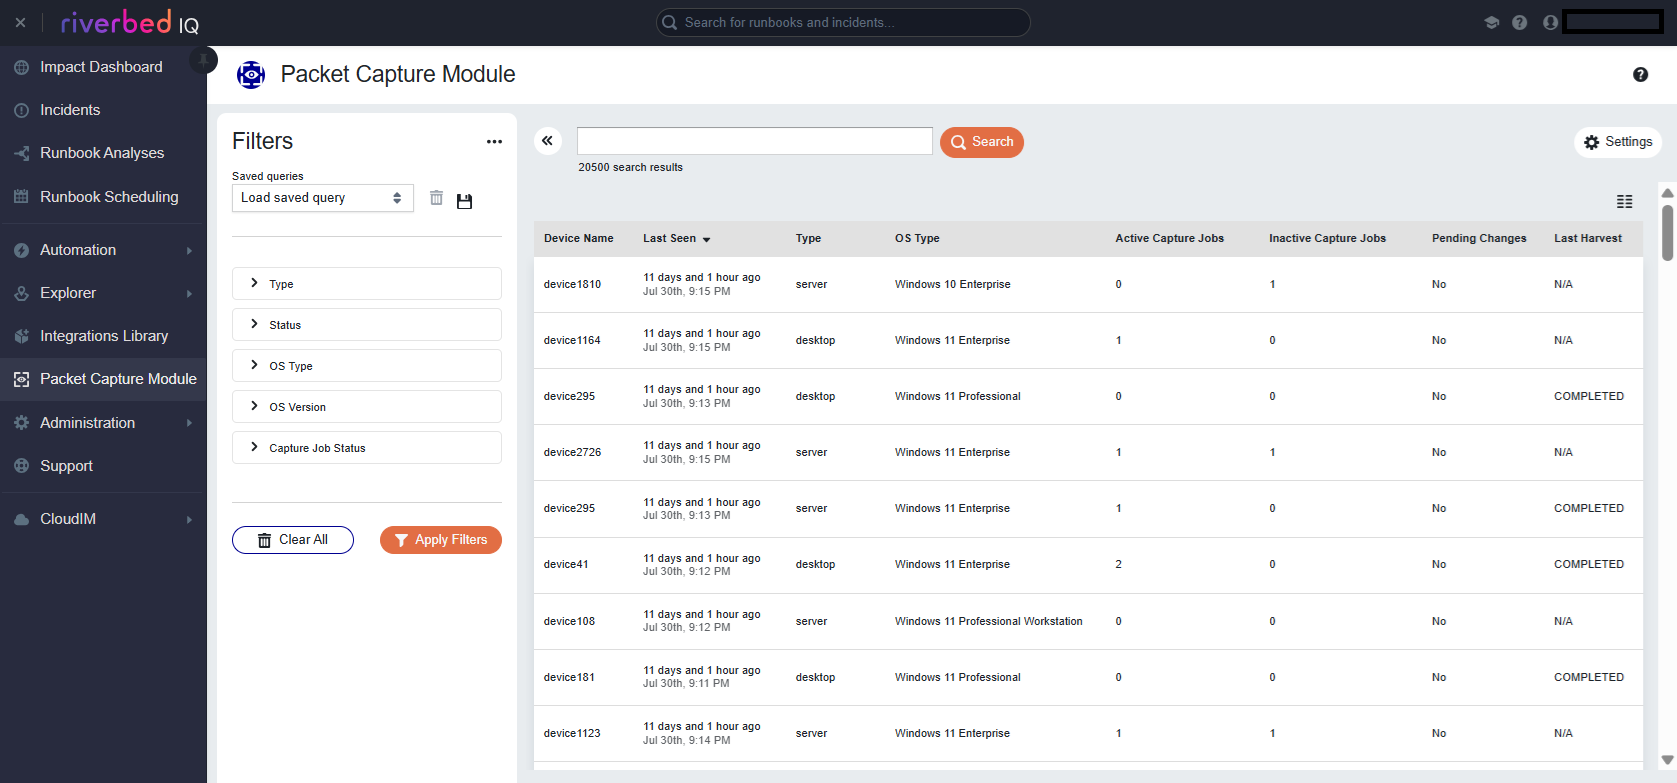
Connect the Packet Capture Module to an Amazon S3 Bucket
Before you can use the Packet Capture Module to execute harvests![]() The process of retrieving PCAP files from Packet Capture Module devices and transferring them to a customer-provided repository for analysis., you must first have a connection between the Packet Capture Module and an Amazon S3
The process of retrieving PCAP files from Packet Capture Module devices and transferring them to a customer-provided repository for analysis., you must first have a connection between the Packet Capture Module and an Amazon S3![]() Amazon Simple Storage Service. A cloud storage service provided by Amazon Web Services that can be used as a repository for storing PCAP files from the Packet Capture Module. bucket.
Amazon Simple Storage Service. A cloud storage service provided by Amazon Web Services that can be used as a repository for storing PCAP files from the Packet Capture Module. bucket.
By completing the steps in this section, you will create credentials in your account that can generate presigned URLs against an S3 bucket. These credentials, together with the S3 bucket name, are passed to Packet Capture Module Command and Control (PCM![]() Packet Capture Module. A module that performs operations related to packet capture, allowing you to capture network packets and store them as PCAP files for analysis. C&C) so it can generate presigned URLs. PCM C&C then passes these URLs to Packet Capture Module when you issue a harvest command so it can upload PCAP files to the intended S3 bucket.
Packet Capture Module. A module that performs operations related to packet capture, allowing you to capture network packets and store them as PCAP files for analysis. C&C) so it can generate presigned URLs. PCM C&C then passes these URLs to Packet Capture Module when you issue a harvest command so it can upload PCAP files to the intended S3 bucket.
To begin using the Packet Capture Module you must first configure the S3 bucket in Amazon, then create a Storage Profile for the bucket.
Setting up the S3 Bucket in Amazon AWS
-
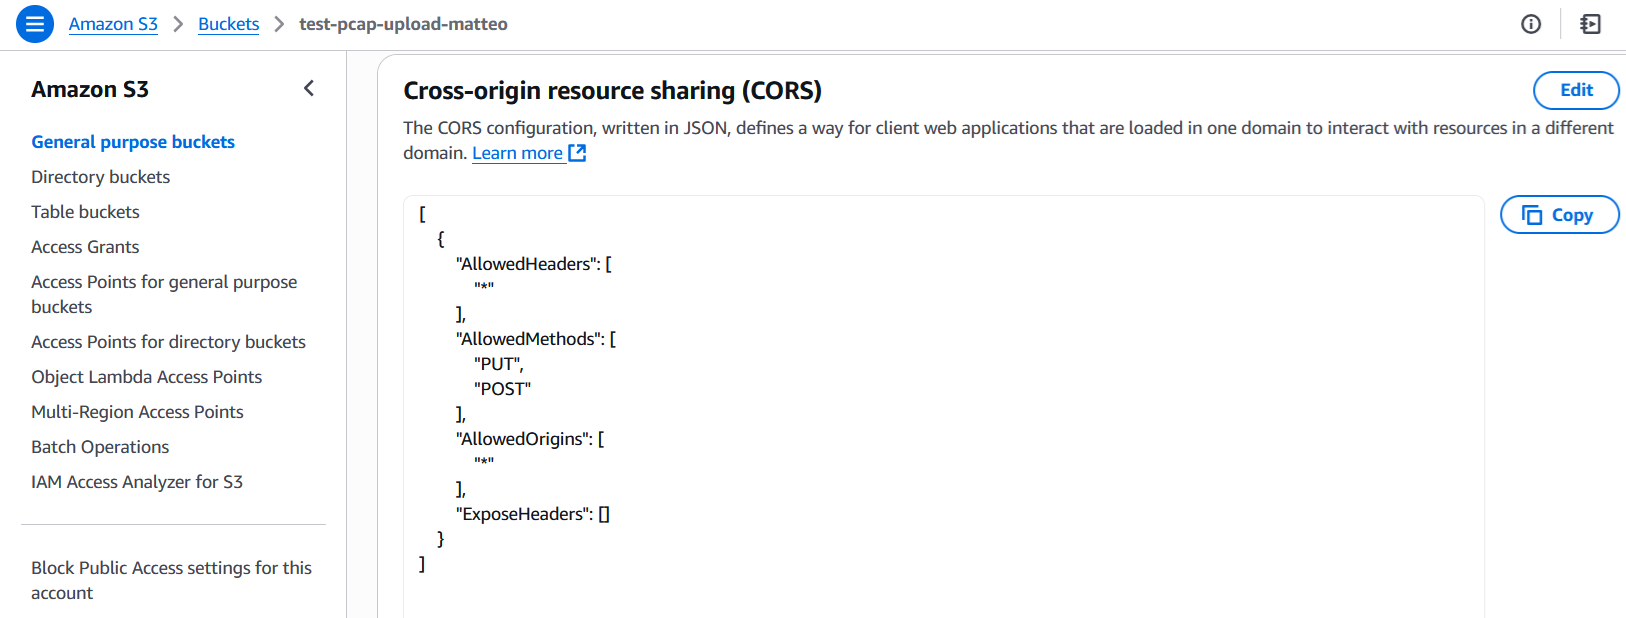
In the S3 bucket configuration, under Permission > Cross-origin resource sharing (CORS), enter the following CORS policy.
[
    {
        "AllowedHeaders": [
            "*"
        ],
        "AllowedMethods": [
            "PUT",
            "POST"
        ],
        "AllowedOrigins": [
            "*"
        ],
        "ExposeHeaders": []
    }
]
-
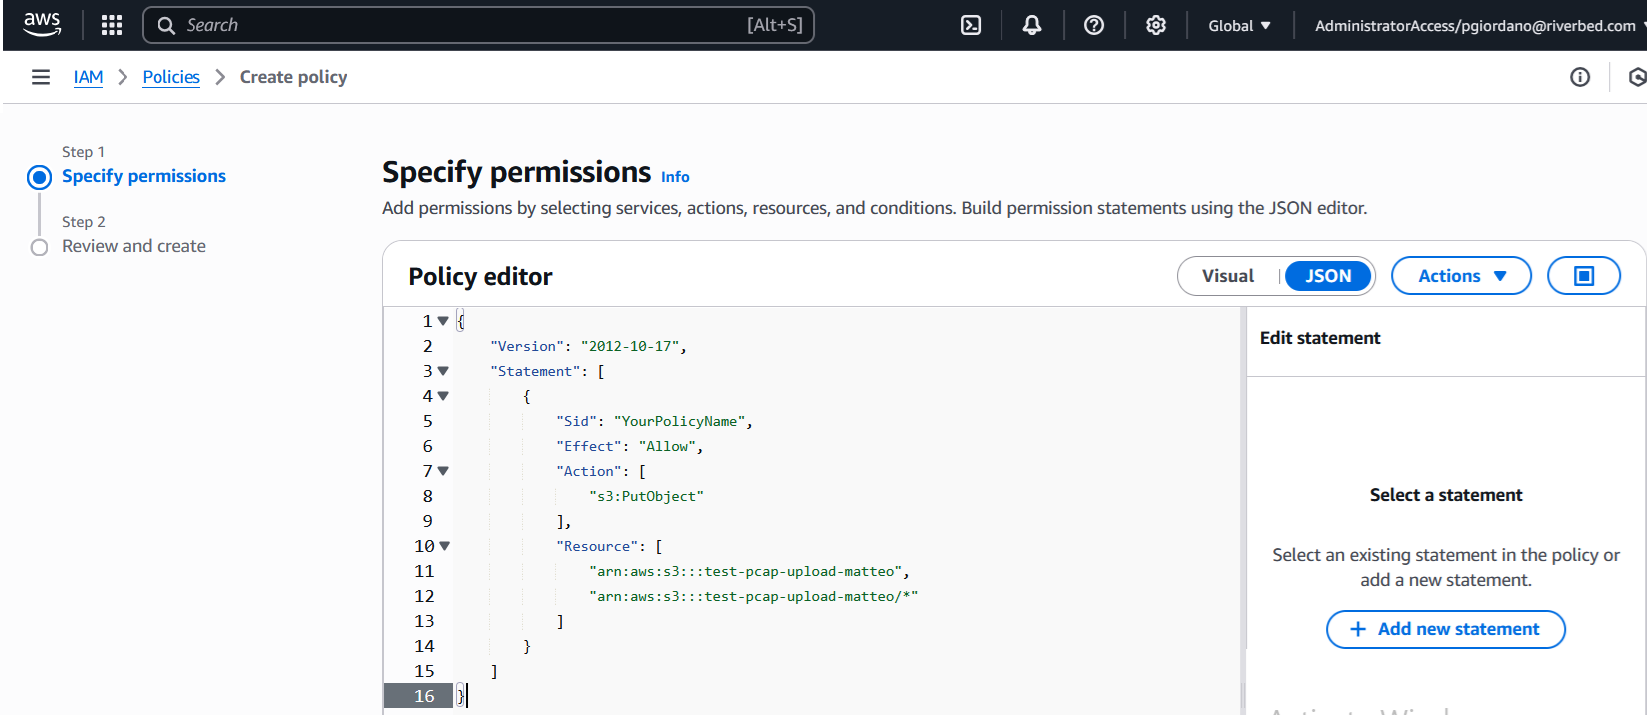
Go to IAM > Policies and create a policy that allows you to generate presigned URLs for file upload to the S3 bucket. Specifically, in a designated folder within the S3 bucket.
Warning: This example policy uses "test-pcap-upload-riverbed" as the name for the S3 bucket. You must change any mentions of "test-pcap-upload-riverbed" in this policy to your S3 bucket name.
{
    "Version": "2012-10-17",
    "Statement": [
        {
            "Sid": "YourPolicyName",
            "Effect": "Allow",
            "Action": [
                "s3:PutObject"
            ],
            "Resource": [
                "arn:aws:s3:::test-pcap-upload-riverbed",
                "arn:aws:s3:::test-pcap-upload-riverbed/*"
            ]
        }
    ]
}
-
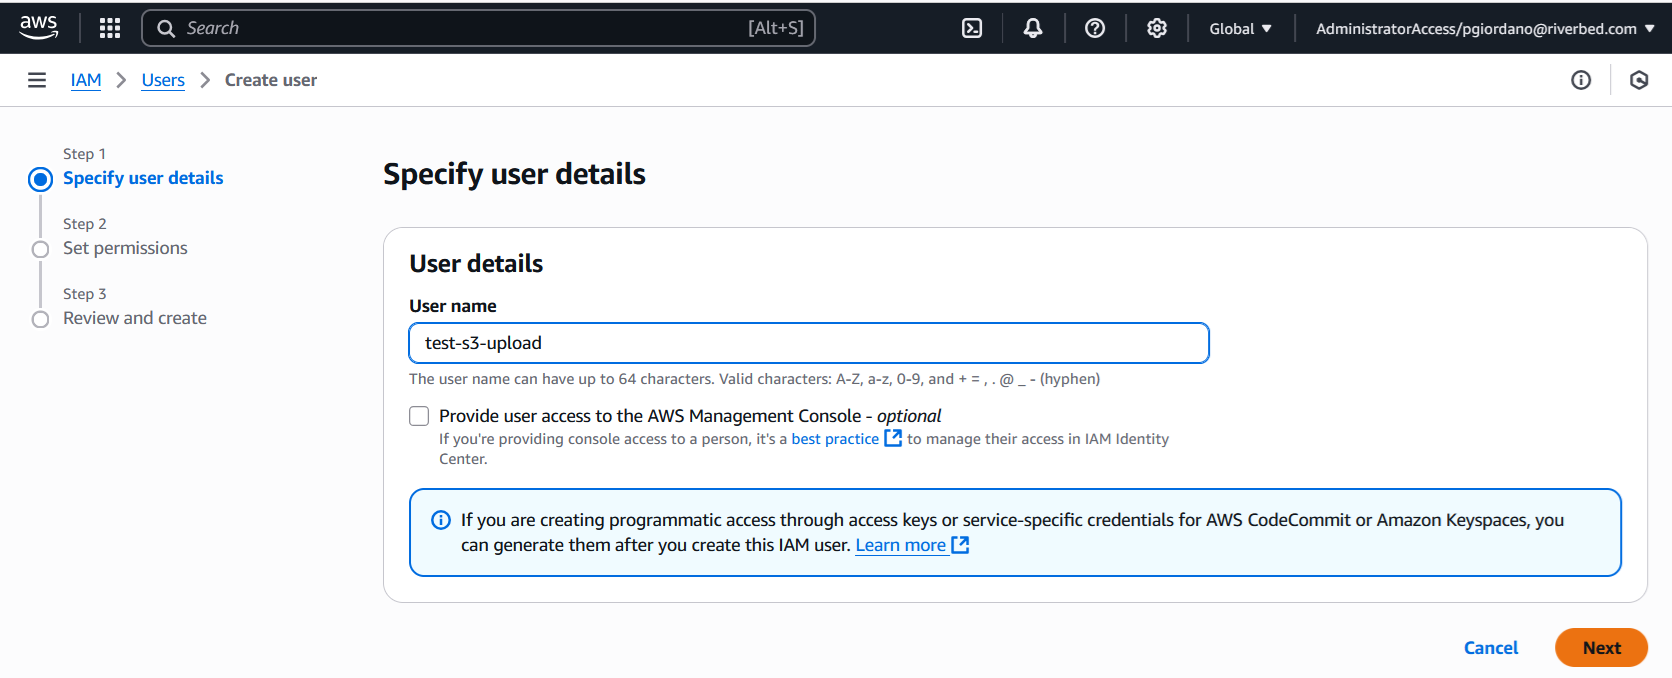
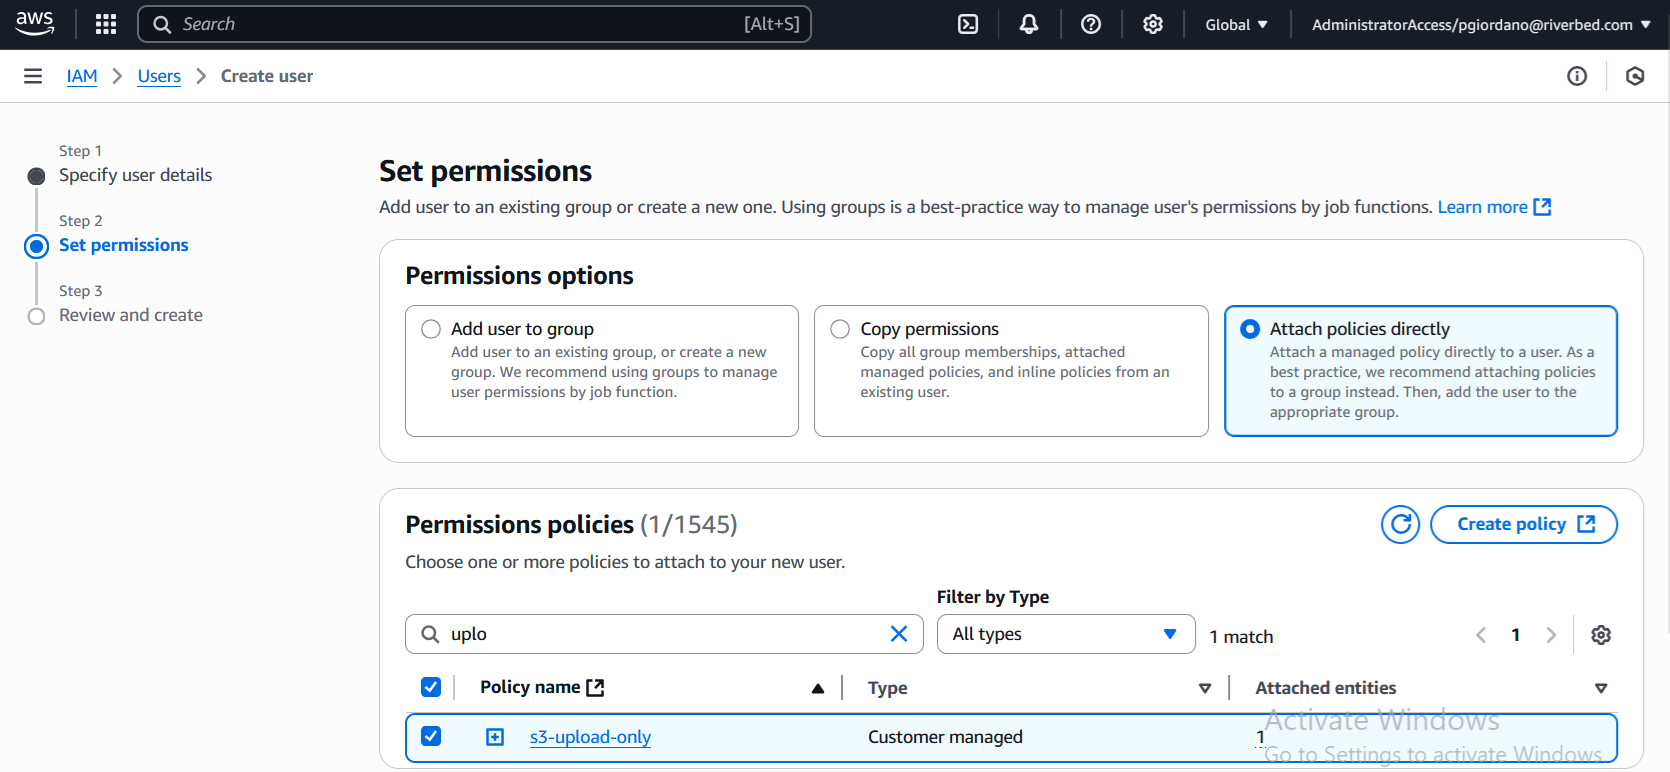
Go to IAM > Users.
-
Create a user and attach the policy to the newly created user.
-
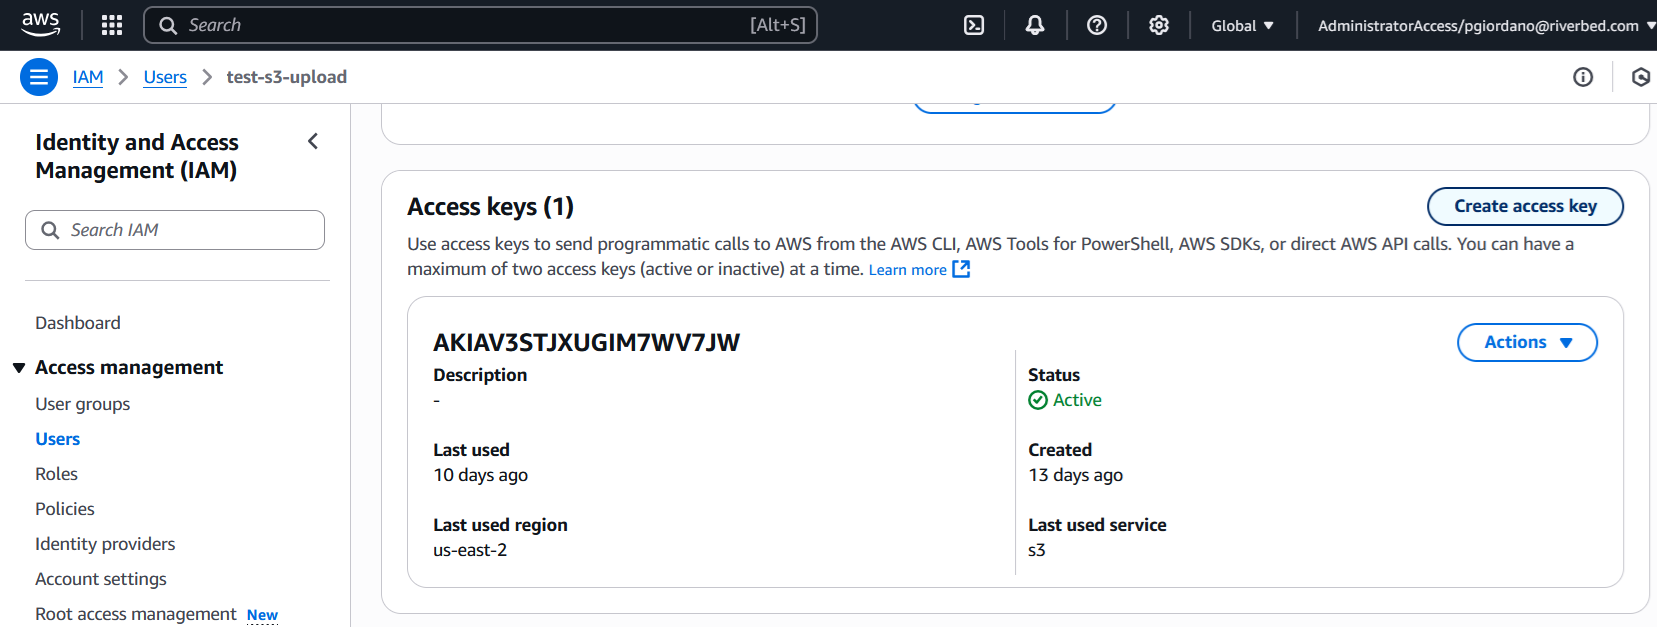
After creating the user, navigate to User > Security Credentials > Access Key.
-
Click Create access key to generate an Access Key and Secret Key. IQ Ops uses these credentials and the S3 bucket name to generate presigned URLs to upload files to the S3 bucket itself.
Creating a Storage Profile for an S3 Bucket
-
Navigate to the PCM Page:
-
Click the Launchpad button ⁝⁝⁝.
-
Click Network Observability > Packet Capture.
-
-
Click the hamburger icon and select Packet Capture Configuration in the side bar.
-
Click the Storage Profile tab.
-
Click Create Storage Profile.
-
Select Amazon S3 from the storage type dropdown.
-
Enter the following information using what you attained in the Setting up the S3 Bucket in Amazon AWS steps:
Note: The format of the S3 bucket URL should contain the S3 bucket name and the region and it should follow this format: https://<bucket-name>.s3.<region>.amazonaws.com-
AWS S3 Bucket URL
-
AWS Access Key
-
AWS Secret Key
-
-
Click Save. Your Storage Profile
 A configuration that defines where the Packet Capture Module stores PCAP files, specifying the storage type and connection details for customer-managed repositories. is now set up. You can specify this storage profile for future harvest commands.