User Management Page
The User Management page is where you administer who can sign in to Riverbed IQ and which built-in roles they receive. The page depends on whether the tenant uses Unified Auth.
-
Unified Auth: Add a named SSO user, assign roles, and map identity provider attributes to roles with SSO groups. The product does not send an invitation email. Named users sign in with your company's identity provider.
-
Not on Unified Auth: Invite a user by email and manage the authorized domains those accounts must belong to.
Open the User Management page
Navigate to the User Management page:
-
Click System (the gear icon) at the bottom of the left menu.
-
Open User Management.
Use the controls on the page to confirm which procedure applies:
-
If the USERS tab shows Add SSO user, and a User Access Administrator also sees an SSO GROUPS tab, the tenant uses Unified Auth.
-
If the page shows Invite User and Authorized Domains, the tenant is not on Unified Auth. The SSO GROUPS tab is not available.
Add a named SSO user
On a Unified Auth tenant, a named SSO user is an account you add by email and assign roles to directly. The user does not receive an email. They sign in with your company's identity provider. People who receive roles only from an SSO group are not named users, and they do not appear on the USERS tab.
To add a named SSO user:
-
Open the User Management page, then select the USERS tab.
-
Click Add SSO user.
-
In Email, type the user's email address.
-
In Assigned Role(s), select every built-in role the account needs. At least one role is required.
-
Click Submit.
If that person was already signing in through an SSO group, saving the dialog gives them named SSO access. They can continue to use the application. The roles you selected are their named roles. If you later remove that named access, a matching SSO group can assign roles again the next time they sign in.
If a pending addition already exists for that email address, the product reports that a pending invitation already exists. If the user already has named SSO access, the product reports that this user already has named SSO access.
Named users on the USERS tab
The USERS tab lists named SSO users. Each row shows Email, Status, and Roles. There is no Name column. Use the search box to filter by name or email, and use the role filter to show accounts that have a selected role.
Status is either Invited or Active:
-
Invited: The named user has been added and is not yet active. The row has no Edit (pencil) icon and no Remove (trash) icon. You cannot change roles or remove the user while the status is Invited.
-
Active: You can change roles or remove named access. Click the Edit (pencil) icon to open Edit Roles. The dialog uses the same Assigned Role(s) control as Add SSO user. Add or remove roles, then click Submit. Click the Remove (trash) icon to remove named access. Confirm the removal when prompted. The user may return as an SSO group user on their next sign-in if a group still matches them.
Role picker
Role-Based Access Control (RBAC Role-Based Access Control) determines what features and content users can access throughout the application An entity type representing software applications deployed in the customer environment that are monitored for performance and anomalies.. When you add a named SSO user, edit an active user, invite a user, or assign roles to an SSO group, you select one or more built-in roles.
The role picker lists every assignable built-in role grouped by product area (for example, Scheduling, Automation, Metadata, Gen AI, Analytics, and PCM). Assign the combination that matches each user's job. A single account often has several roles at once, especially after migration from legacy platform roles.
For how RBAC works platform-wide and how assigned roles combine, see Role-Based Access Control. For every built-in role name and description, including feature-by-role tables, see Riverbed Console Built-in Roles. For a UI-area summary that points to the relevant role areas, see User Role Definitions.
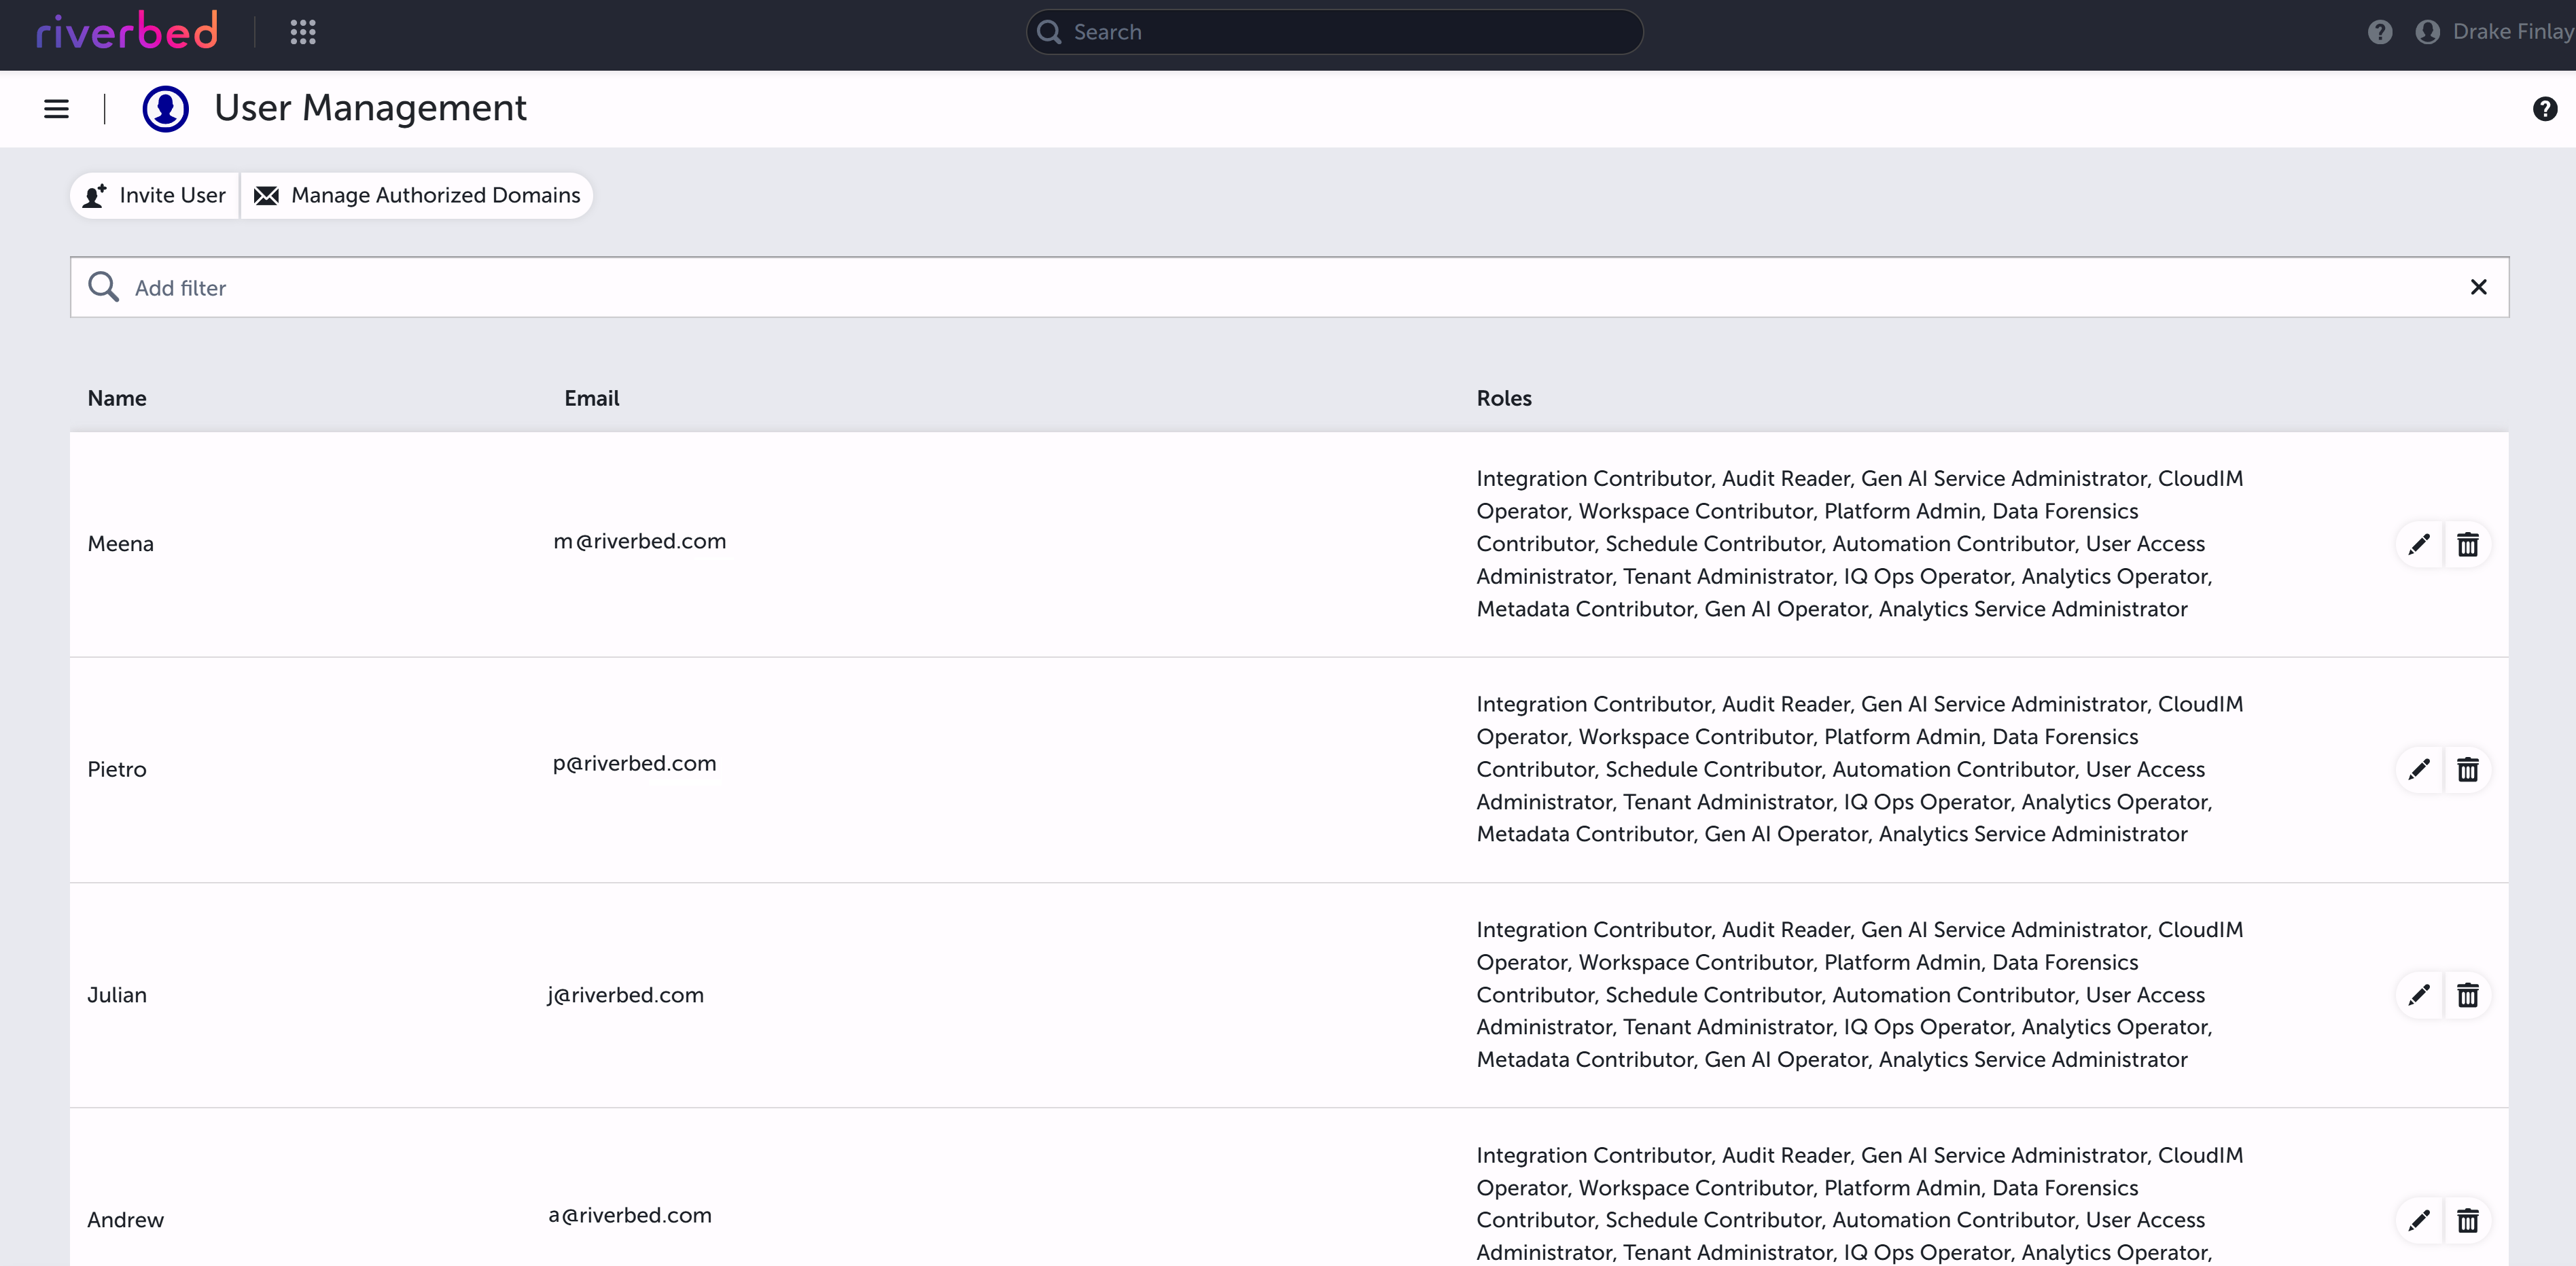
The USERS tab lists each account with the roles currently assigned to it. After granular roles are enabled, migrated users may show several roles per account instead of a single platform role.
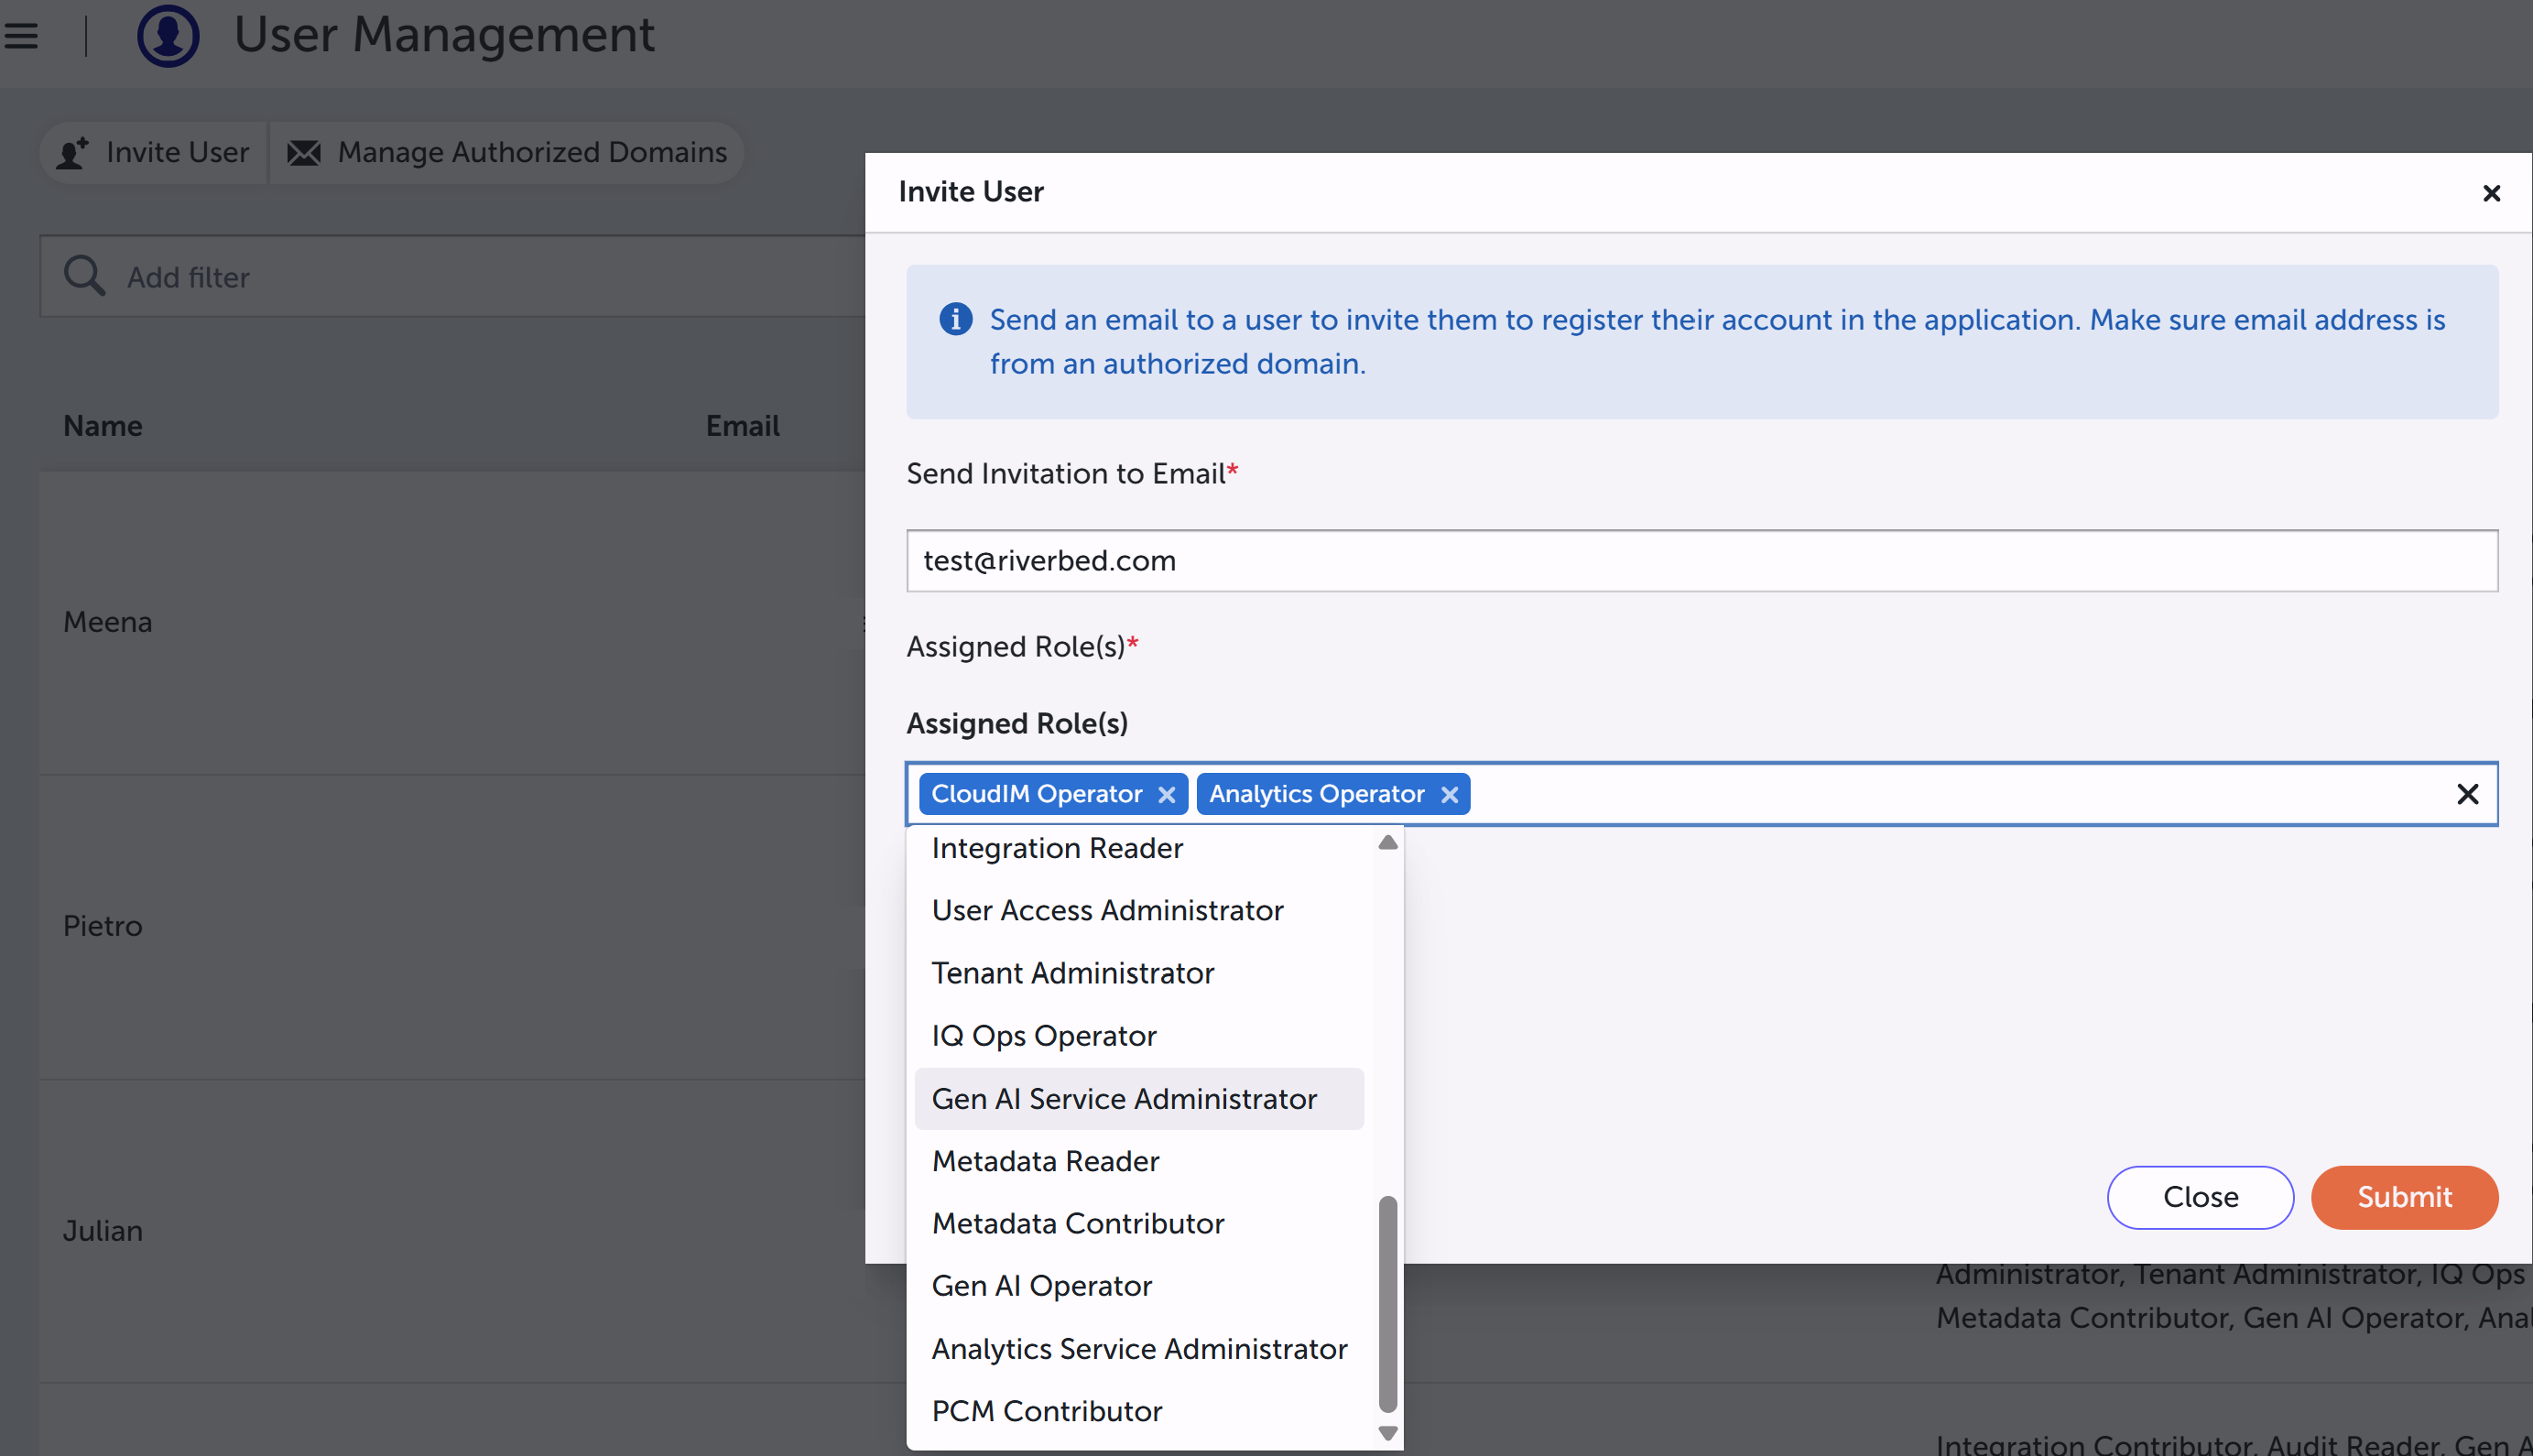
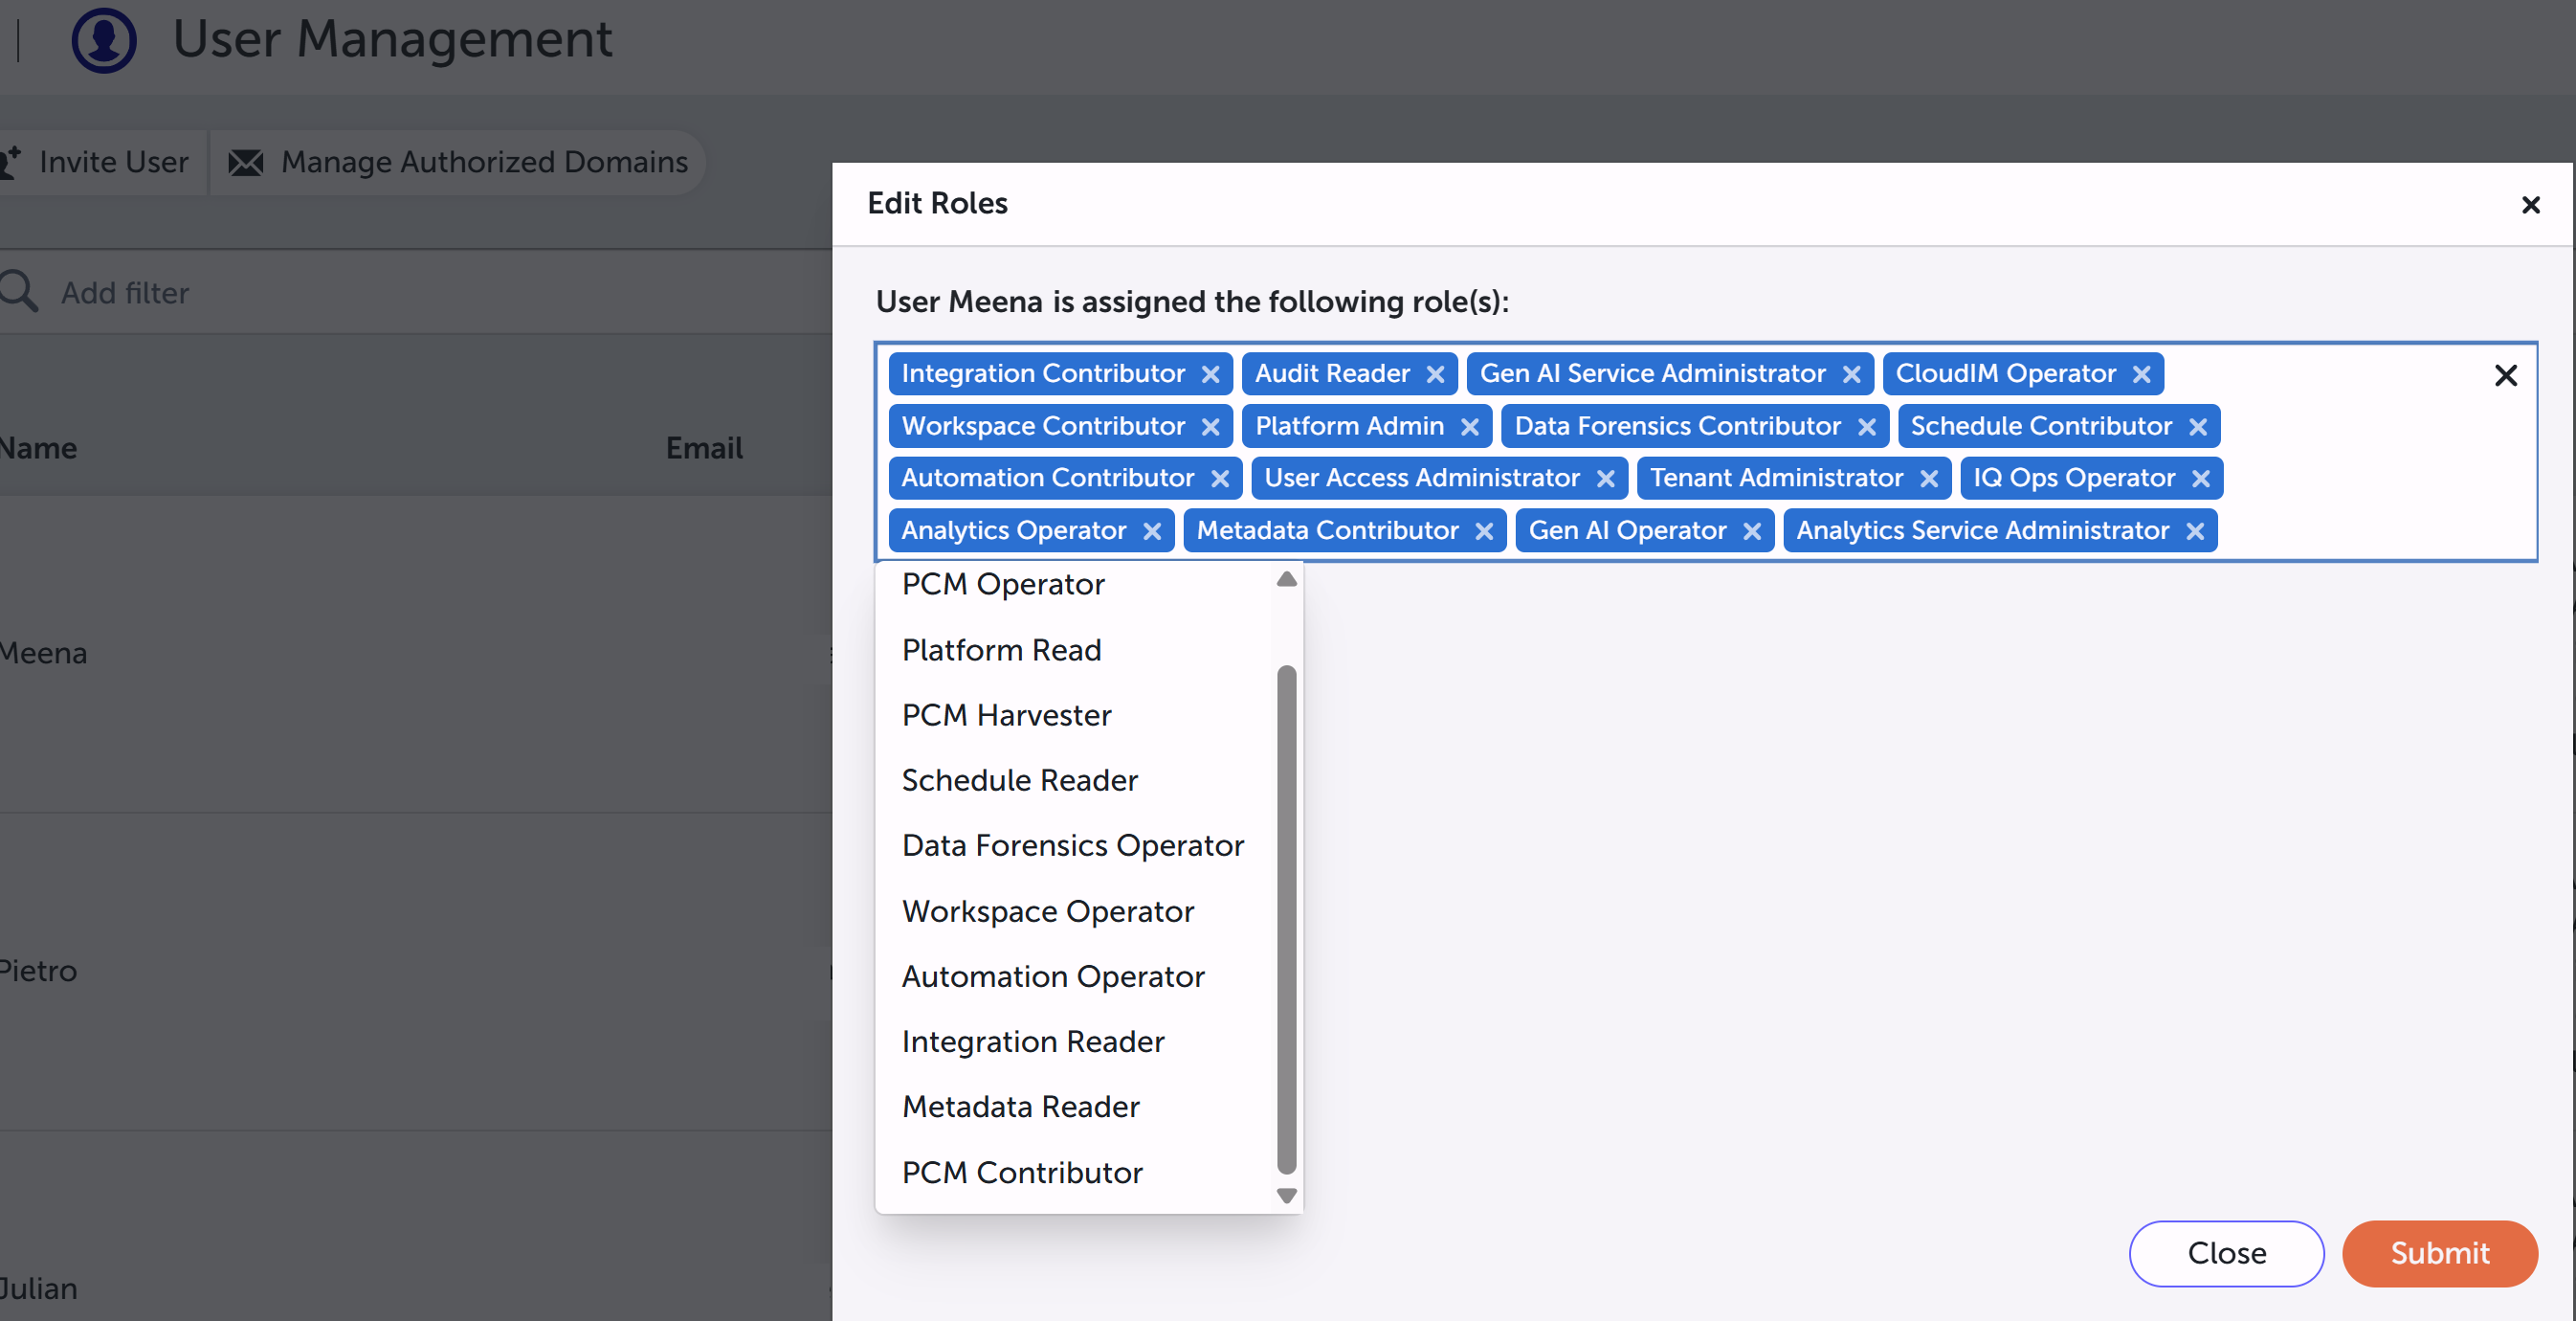
In Assigned Role(s), select every role the account needs before you click Submit. The same control appears in Add SSO user, Edit Roles, and Invite User.
Manage SSO groups
SSO groups are available on Unified Auth tenants. They connect attributes from your identity provider to the same built-in Role-Based Access Control (RBAC Role-Based Access Control) roles you assign to a named SSO user. When a user signs in through Security Assertion Markup Language (SAML) or OpenID Connect (OIDC), the product compares the assertion to your group matching rules. Matching groups supply the roles for that session. You do not need to add those users on the USERS tab first, and they do not appear in that list.
Use the two tabs on the User Management page as follows:
-
USERS: Add named SSO users and assign roles directly to those accounts.
-
SSO GROUPS: Define group matching rules so users who sign in through the identity provider receive roles automatically.
For role names and what each role allows, see Riverbed Console Built-in Roles. For how assigned roles combine, see Role-Based Access Control.
Matching rules
Each SSO group stores one matching rule and one or more roles. A rule has three parts:
-
IdP / SAML Attribute: The claim name in the identity provider assertion, for example
memberOfordepartment. Type the name as it appears in the assertion. -
Operator: Equals requires an exact match. Contains matches when the claim value includes the text you enter.
-
Value: The group name, department, or other claim value to match, for example
eng-admins.
If more than one group matches a user, the product applies the roles from every matching group. Group membership is evaluated each time the user signs in. After you add, change, or delete a group, affected users pick up the new mapping on their next sign-in.
Add an SSO group
Create a group when users in the identity provider should receive a set of built-in roles without a named user on the USERS tab. The steps below open the Add SSO Group dialog, define the matching rule, and assign roles.
To add an SSO group:
-
Open the User Management page, then select the SSO GROUPS tab.
-
Click Add Group.
-
Under Group Info, type a Group Name. Optionally type a Description.
-
Under Matching Rule, type the IdP / SAML Attribute, select Equals or Contains, and type the Value to match.
-
Under Assigned Roles, add at least one built-in role. You can assign several roles to the same group.
-
Click Add.
Find, edit, or delete an SSO group
The SSO GROUPS table lists group name, IdP attribute, match type, value, description, and assigned roles. Use search to filter the list by those fields, including role display names.
To change or remove a group:
-
On the SSO GROUPS tab, locate the group.
-
To change the group, click the edit (pencil) icon, update the group information, matching rule, or assigned roles, then click Save.
-
Saving replaces the entire group definition, including the full role list.
-
-
To remove the group, click the delete (trash) icon, then confirm. Users who matched only that group no longer receive those roles after their next sign-in.
Invite users
On a tenant that is not on Unified Auth, click Invite User to send email to a specified account, asking the owner to register with Riverbed IQ as a user.
You can also assign one or more roles appropriate for that account. In the Assigned Role(s) field, select every role the new account needs before you click Submit.
The user list includes a Name column and an Email column. It does not include Status. On the user list, click the Edit (pencil) icon for the account you want to change. The Edit Roles dialog opens with the same Assigned Role(s) control. Add or remove roles, then click Submit.
Manage authorized domains
Authorized domains apply on tenants that are not on Unified Auth. The Authorized Domains button is not shown on a Unified Auth tenant.
Click Authorized Domains to open Manage Authorized Domains. Add or delete domains that your organization trusts for authorizing users and sending and receiving email.